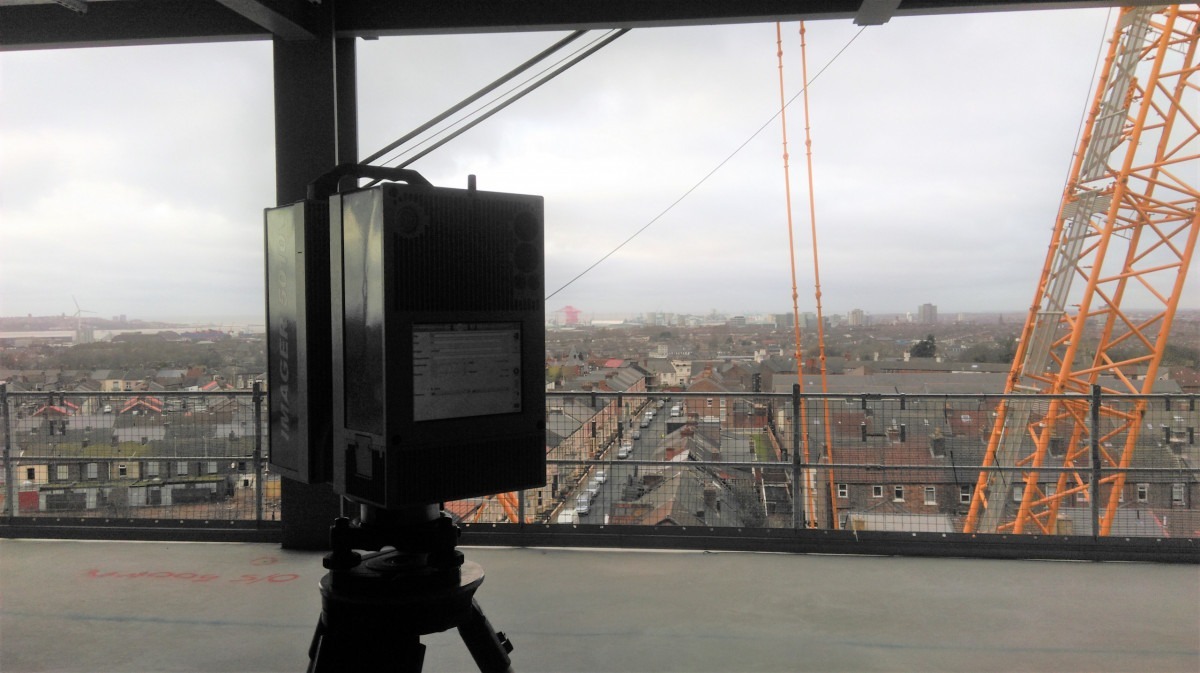
The ultra precise measurement of fixed points over time to calculate deformation.
With precise survey equipment and stringent control measures, sub millimetre movement by can be confidently detected in the data. With well presented charts, graphs and drawings, the data is effectively communicated to engineers for further analysis.
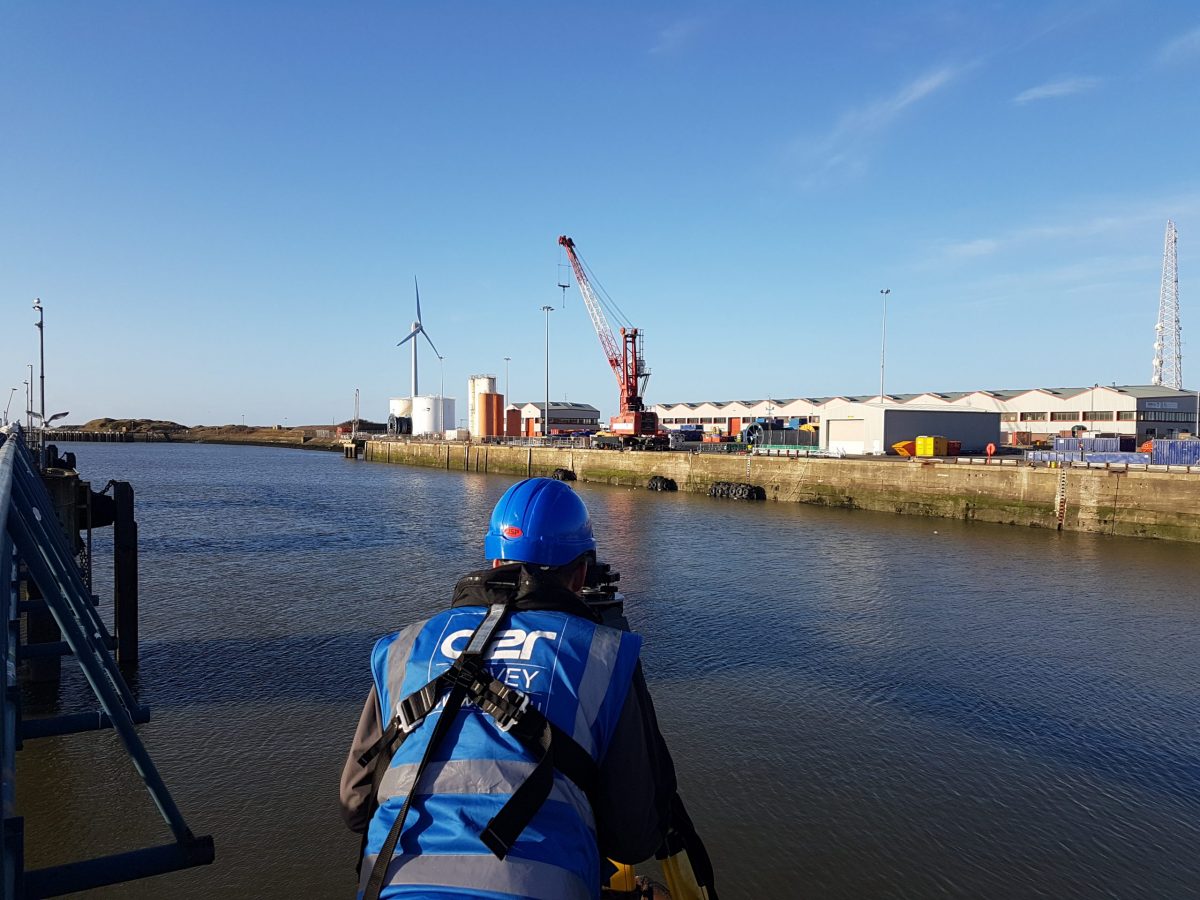
Trimble S8 High Precision Robotic Total Station measuring in auto lock mode to fixed prism targets. Removing the surveyor from the sight and aim sequence increases the confidence in the measured data.
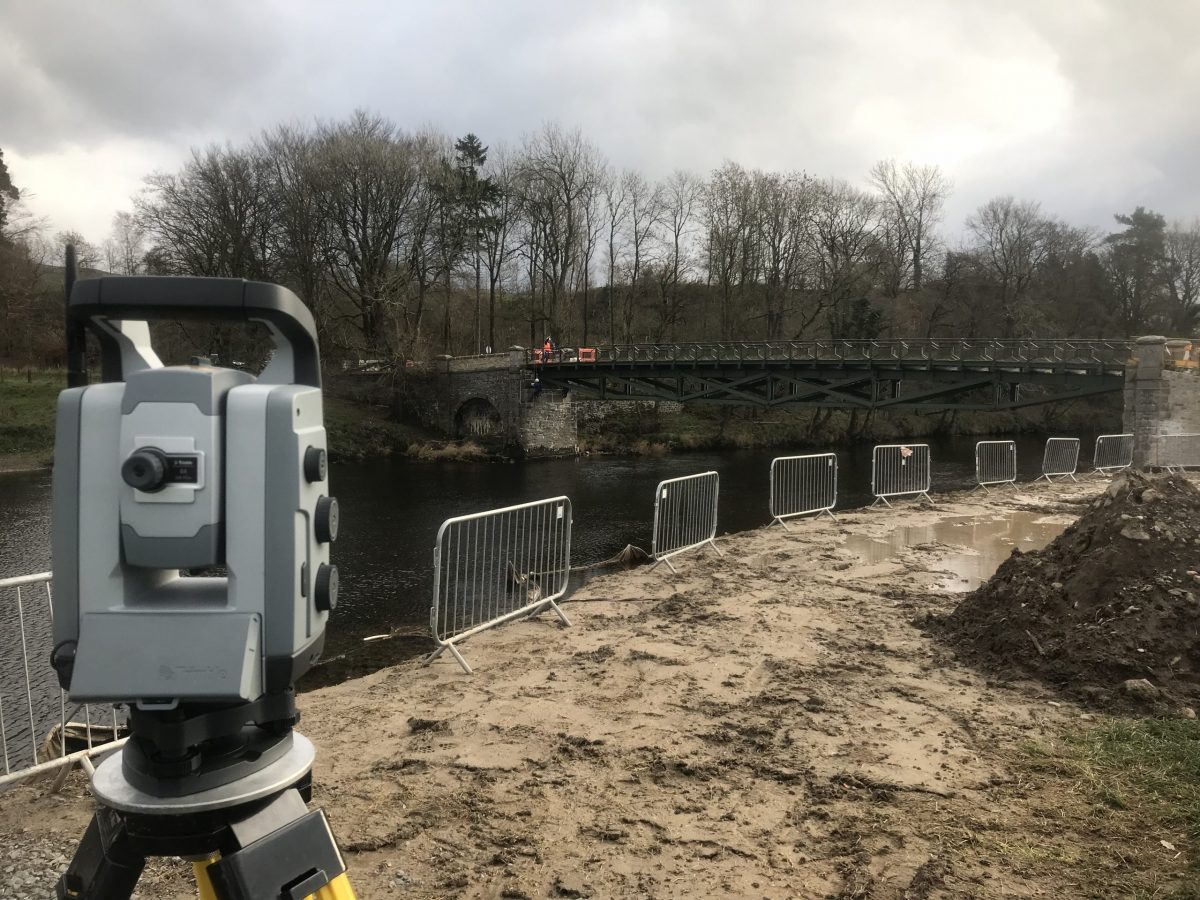
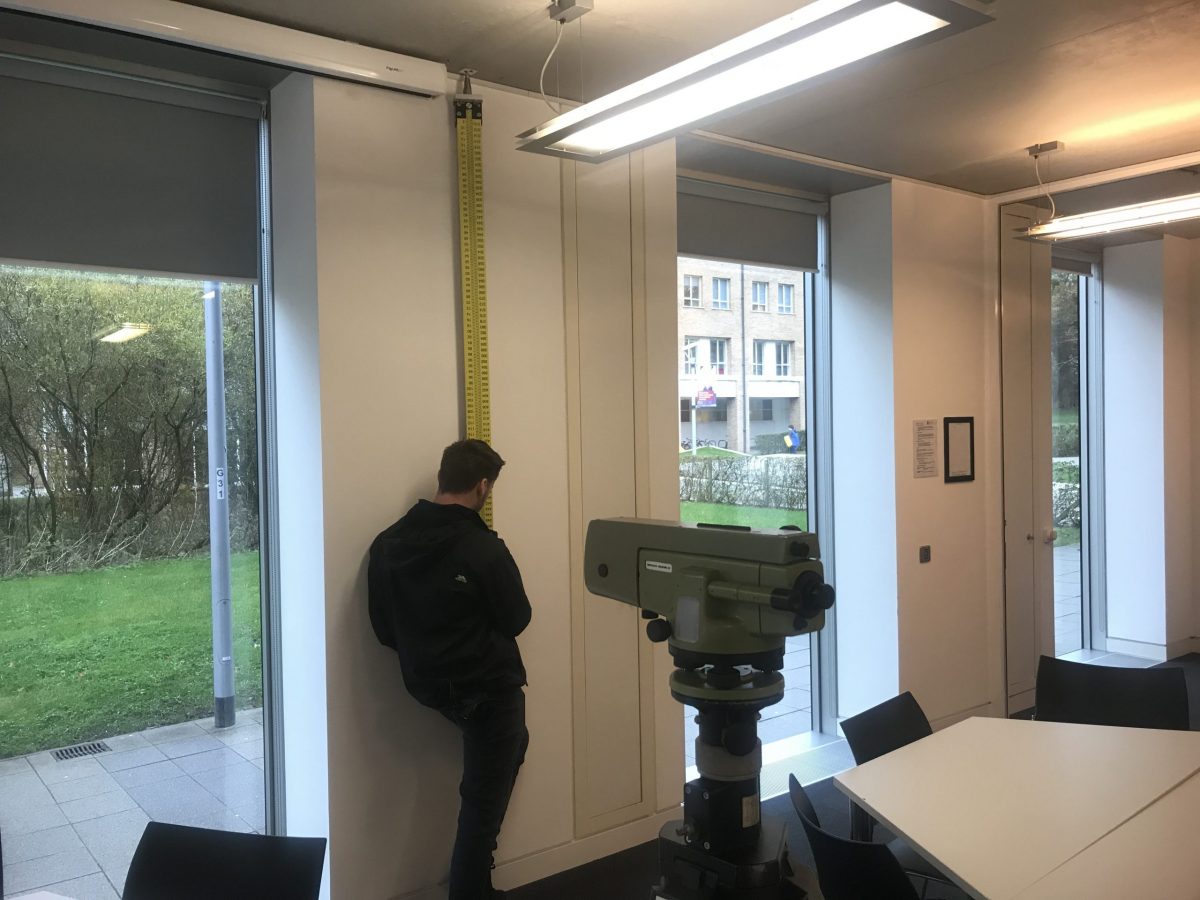
Leica NAK2 Precise Automatic Level with Parallel Plate Micrometer used to record the elevation of ceiling monitoring points
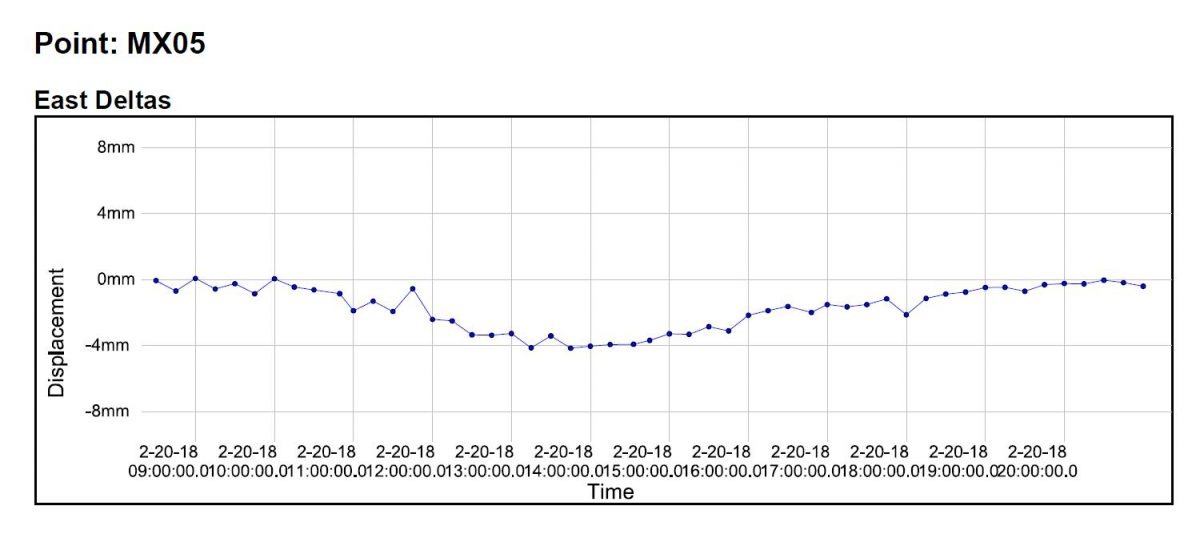
Monitoring target Easting coordinate movement over time.
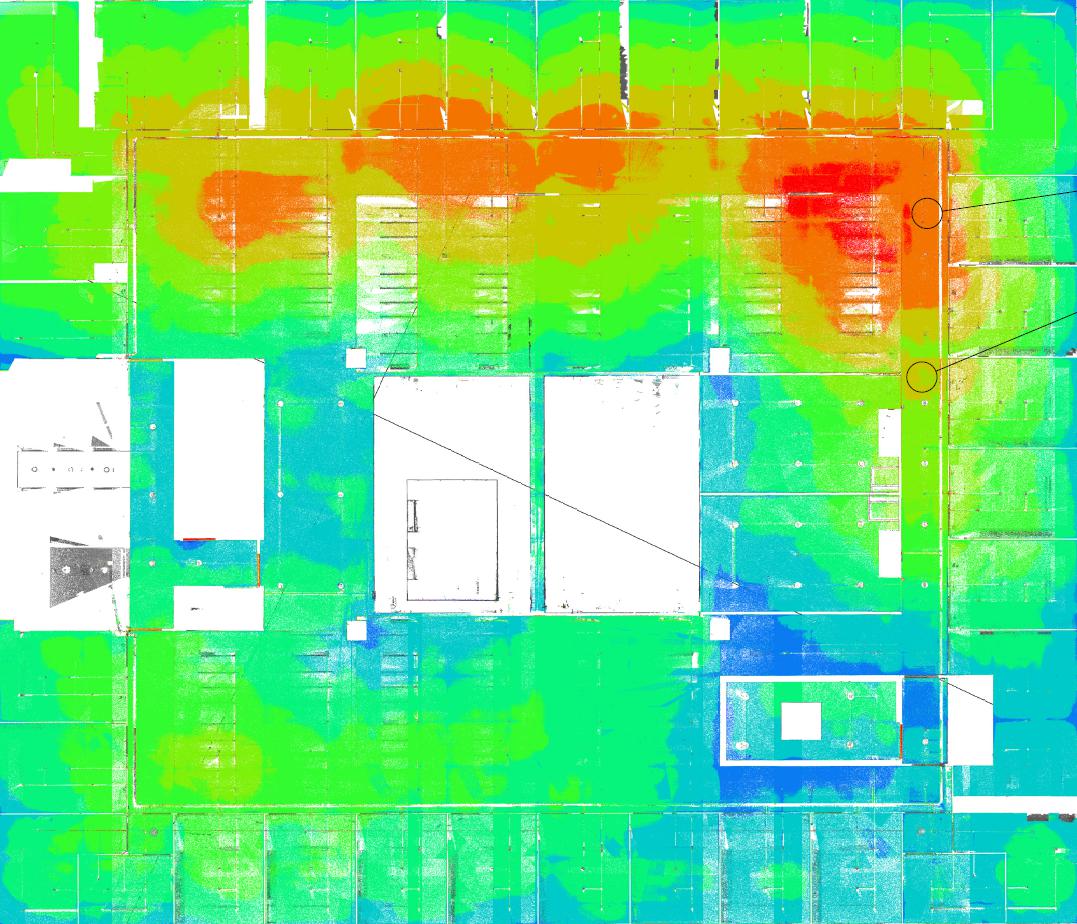
Surface analysis or flatness surveys of floor and ceiling slabs isolate and quantify problem areas. A 3D scanner is used to survey the soffit or floor area. The data is compared with the design surface to produce an elevation colour ramp and +/- deviation data.
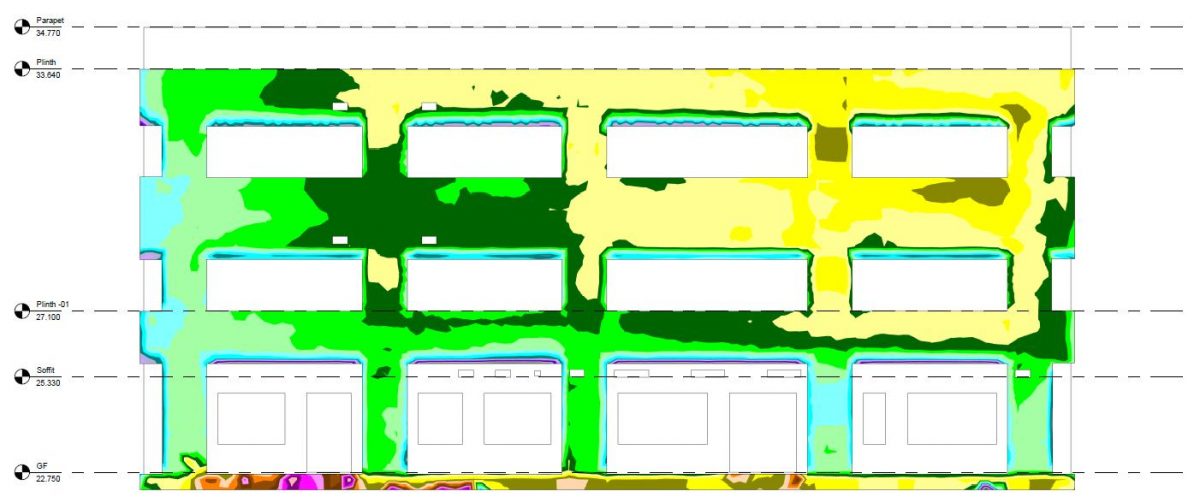
The same principle is used to analyse vertical walls or any structure. The as measured point cloud is compared to the 3D model in Autodesk Revit with FARO As-Built.
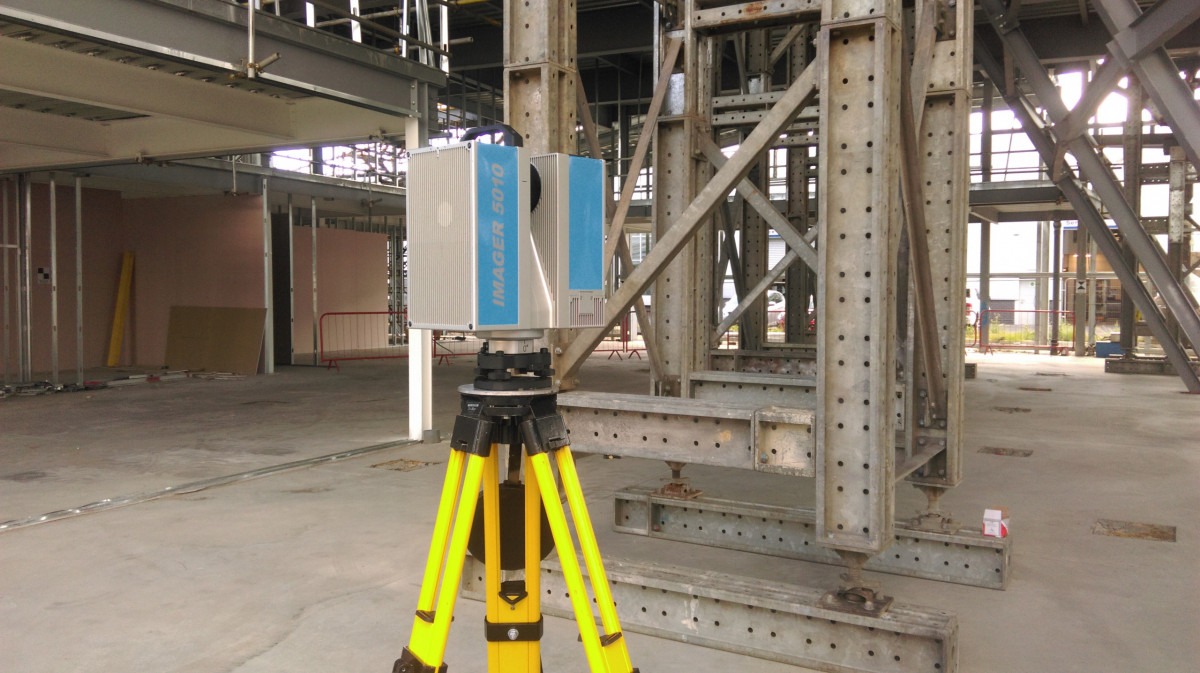
On this project the temporary prop is holding up a portal frame which presented significant deflection under its own weight during construction. The scanner was able to reveal how much each roof member had deformed.
Scanning a new floor slab to assess its flatness before receiving a resin finish inside a well known football stadium.
